Hot Saucers - Solving Fortnite Clues about Season 7 Part 1
Yesterday, less than 48 hours before the new season launches, Fortnite tweeted out the following, inviting all of us to decipher some clues about what’s coming for Season 7. Many of us joined and worked for several hours to solve the puzzles. Here’s how we did it.
Hey Hot Saucers, Mari here. Got something weird to show you. Alien stuff. Not safe to talk here.
— Fortnite (@FortniteGame) June 6, 2021
Come help us figure this out: https://t.co/8sJ4QuzFIo pic.twitter.com/ymKDuDoPZM
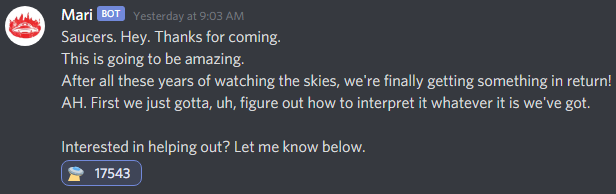
When you clicked the above link, it took you to Fortnite’s Discord server where they had setup a new section called Hot Saucers. The only channel immediately available was a ‘join-here’ text channel that had the following message. When you reacted to it, eventually you would be given a “Hot Saucers Volunteer” role, which provided access to additional text channels including ‘discussion-chat’, ‘hot-saucers-log’ and ‘crack-the-code’.
Acknowledgements
Before you read further, please know that I did not complete these on my own! I definitely played a significant part, but many people in the Discord, as well as many that came to my stream, helped with this! I apologize that I’m not able to point out every person that helped, but I do at least acknowledge folks where I can. This was indeed a massive team effort!
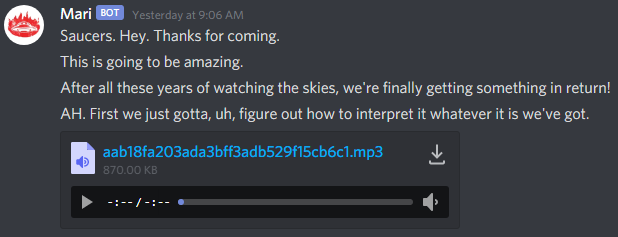
The first message posted to the ‘hot-saucers-log’ included an MP3 file, which turned out to be the same audio from the invitation tweet above.
People quickly figured out that this needed to be viewed as a spectrogram in order to make progress. An easy way to do this on PC, is to load it into Audacity and enable the spectrogram view, which showed the following at the beginning of the audio file. The message shown says: UNIVERSAL TRANSLATOR MALFUNCTION FALLBACK AUDIO-DELTA ENCODING WITH 1-HIGH, 0-LOW
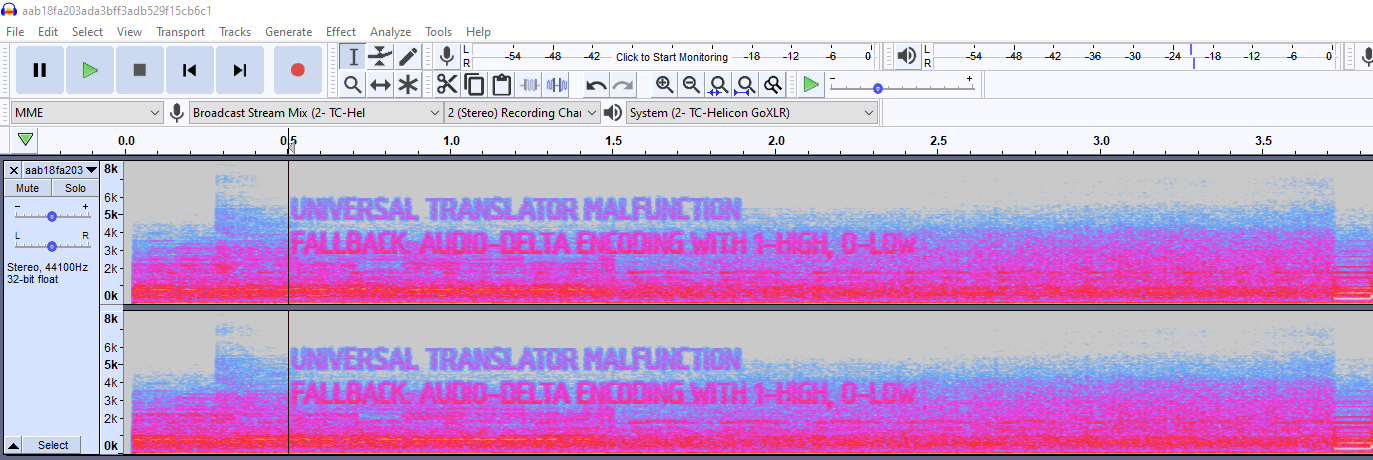
That message wasn’t the answer to the puzzle, however. It was a clue as to how to interpret the rest of the audio in order to determine the answer. What that message was saying was that the notes played in the rest of the audio needed to be translated into a series of 1s and 0s. Higher notes were to be 1s and lower notes were to be 0s. So if you look at the spectrogram for the rest of the audio below, you see what that translates to.
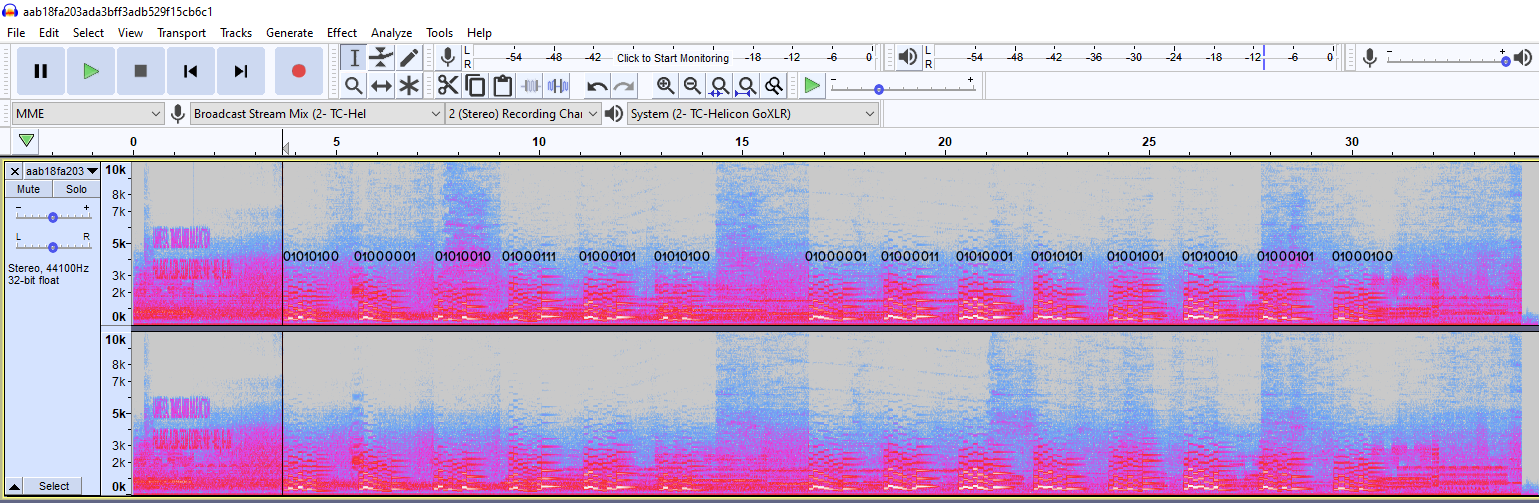
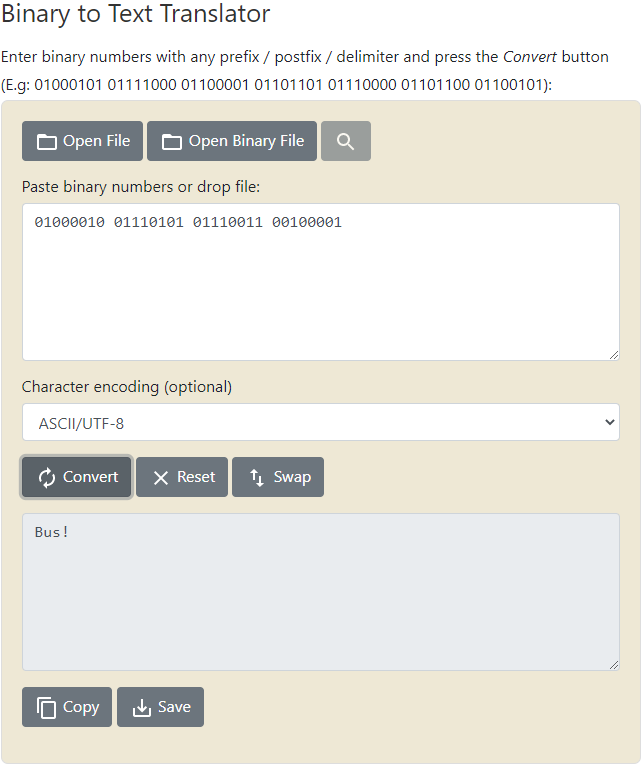
These ones and zeros are actually binary representations of characters that can be converted into readable text. So if you take that sequence above and put it into a converter, you see that the message is TARGET ACQUIRED.

This answer was submitted to Mari via the ‘crack-the-code’ text channel by Ex-VT Fennix, to which Mari (first responding to an incorrect answer submitted just prior to this one) confirmed that the answer was correct and sent us back to the ‘hot-saucers-log’ for the next puzzle.


The next puzzle came in an image as follows:
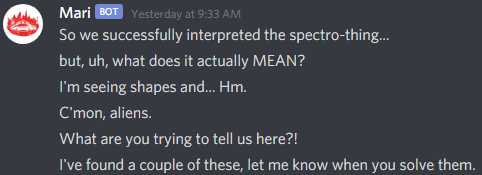
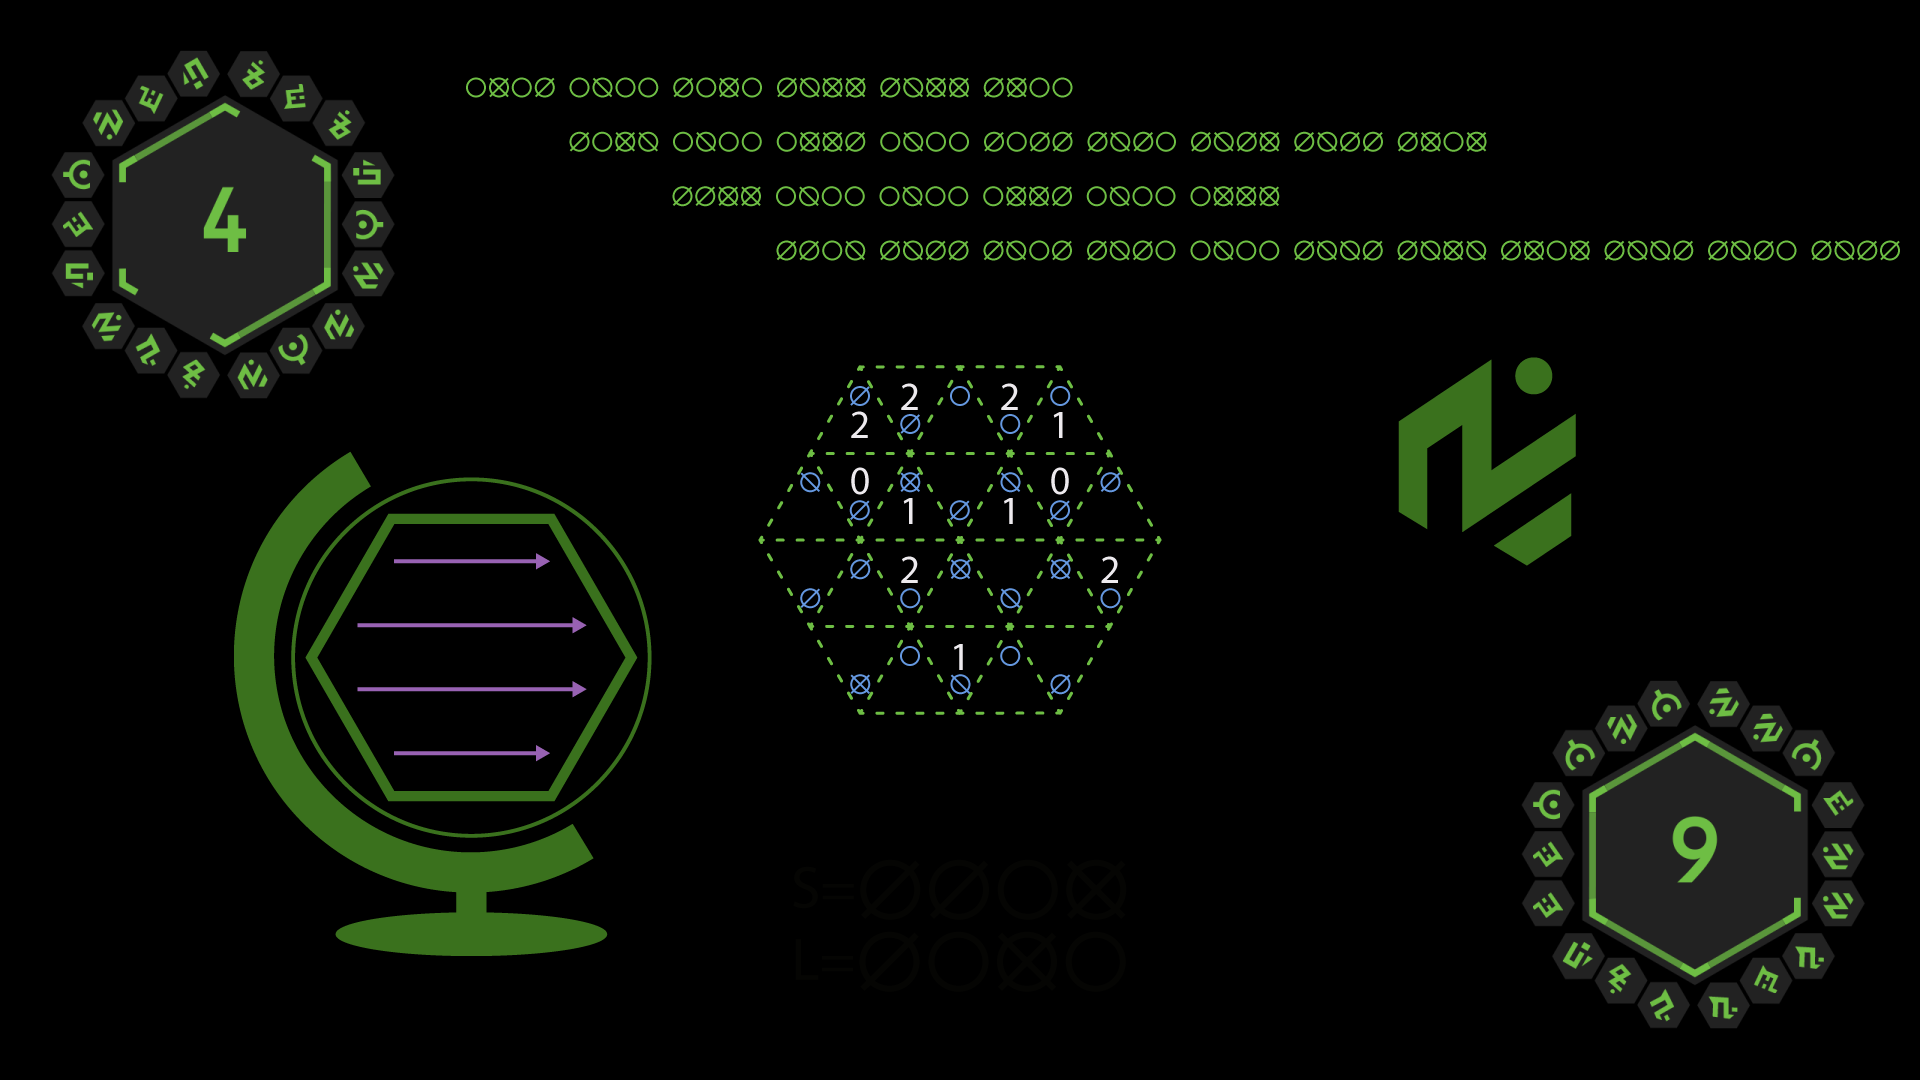
Immediately seeing this image, it’s not at all clear how to even get started. Thankfully, someone quickly adjusted the exposure and found a hidden clue at the bottom, which gave us the key for deciphering the message at the top, as well as eventually the message contained in the center.
Knowing that the audio message required us to convert from binary to text, we were able to determine that each of the symbols represent a combination of 1s and/or 0s again. So, the capital letter S is represented as 01010011 in binary, and the capital letter L is represented as 01001100. This lets us conclude that:
- a circle with a slash going from bottom-left to top-right is 01
- a circle with no slashes is 00
- a circle with 2 slashes is 11
- a circle with a slash going from top-left to bottom-right is 10
Even though the last one (a circle with a slash going from top-left to bottom-right) isn’t shown in the key, we see it used in the message at the top and it’s the only combination remaining.
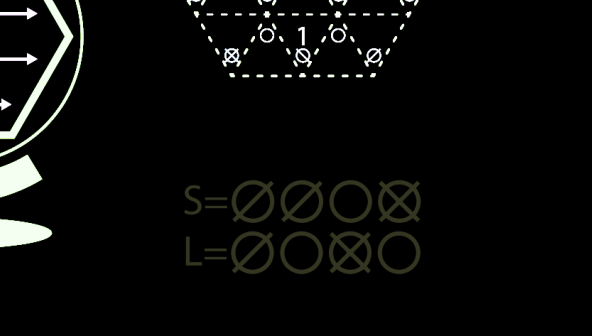
Using that key with the message at the top gives us the following:
As we did above, we put this into a binary to text converter to get the following message: 1 Loop N = Edges _ = ? Read inside

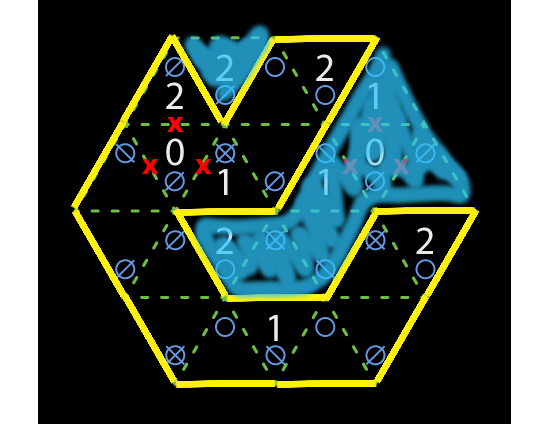
After about an hour and a half of not getting anywhere beyond this, Mari chimed back in cluing us to “slitherlink”, which is what the message above was trying to tell us. Using these principles, we can solve the center image. Basically, we needed to draw a line following edges throughout the image that would for a single loop, but it had to obey the rules indicated by the number in some of the triangles. So if the number inside a triangle was 0, then our line could not use any of the edges of that triangle. If it had a 1, then we MUST use 1 edge, and if it had a 2, then we MUST use 2 edges of that triangle. Triangles without numbers simply meant that you might or might not use 1 or 2 of their edges. (Note, you can never use all 3 edges of one of the triangles or the resulting line wouldn’t form a single loop.)

So how do you even get started? I found it to be easiest to first cross out the edges of any 0-numbered triangles, and then draw in any required lines (such as when a 2-numbered triangle is adjacent to a 0-numbered triangle, you had to use the remaining 2 edges because you couldn’t use the one that the two triangles shared). From there, you just continue the line to connect and form the singular loop while obeying all of the rules.
One the line was drawn, the rest of the message above tells us to “read inside”, meaning we needed to take the symbols, convert them to 1s and 0s again, and convert that to text. In order to know how to “read inside”, the image of the globe from the picture with the arrows pointing to the right tell us to translate the symbols starting in the top-left and go line by line.
Converting the symbols into binary and converting to text gives us the following answer.
I submitted this answer to the ‘crack-the-code’ channel and Mari confirmed it was correct.

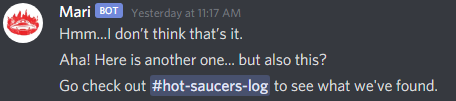
Mari sent us back to the ‘hot-saucers-log’ channel and posted the new puzzle with two images.

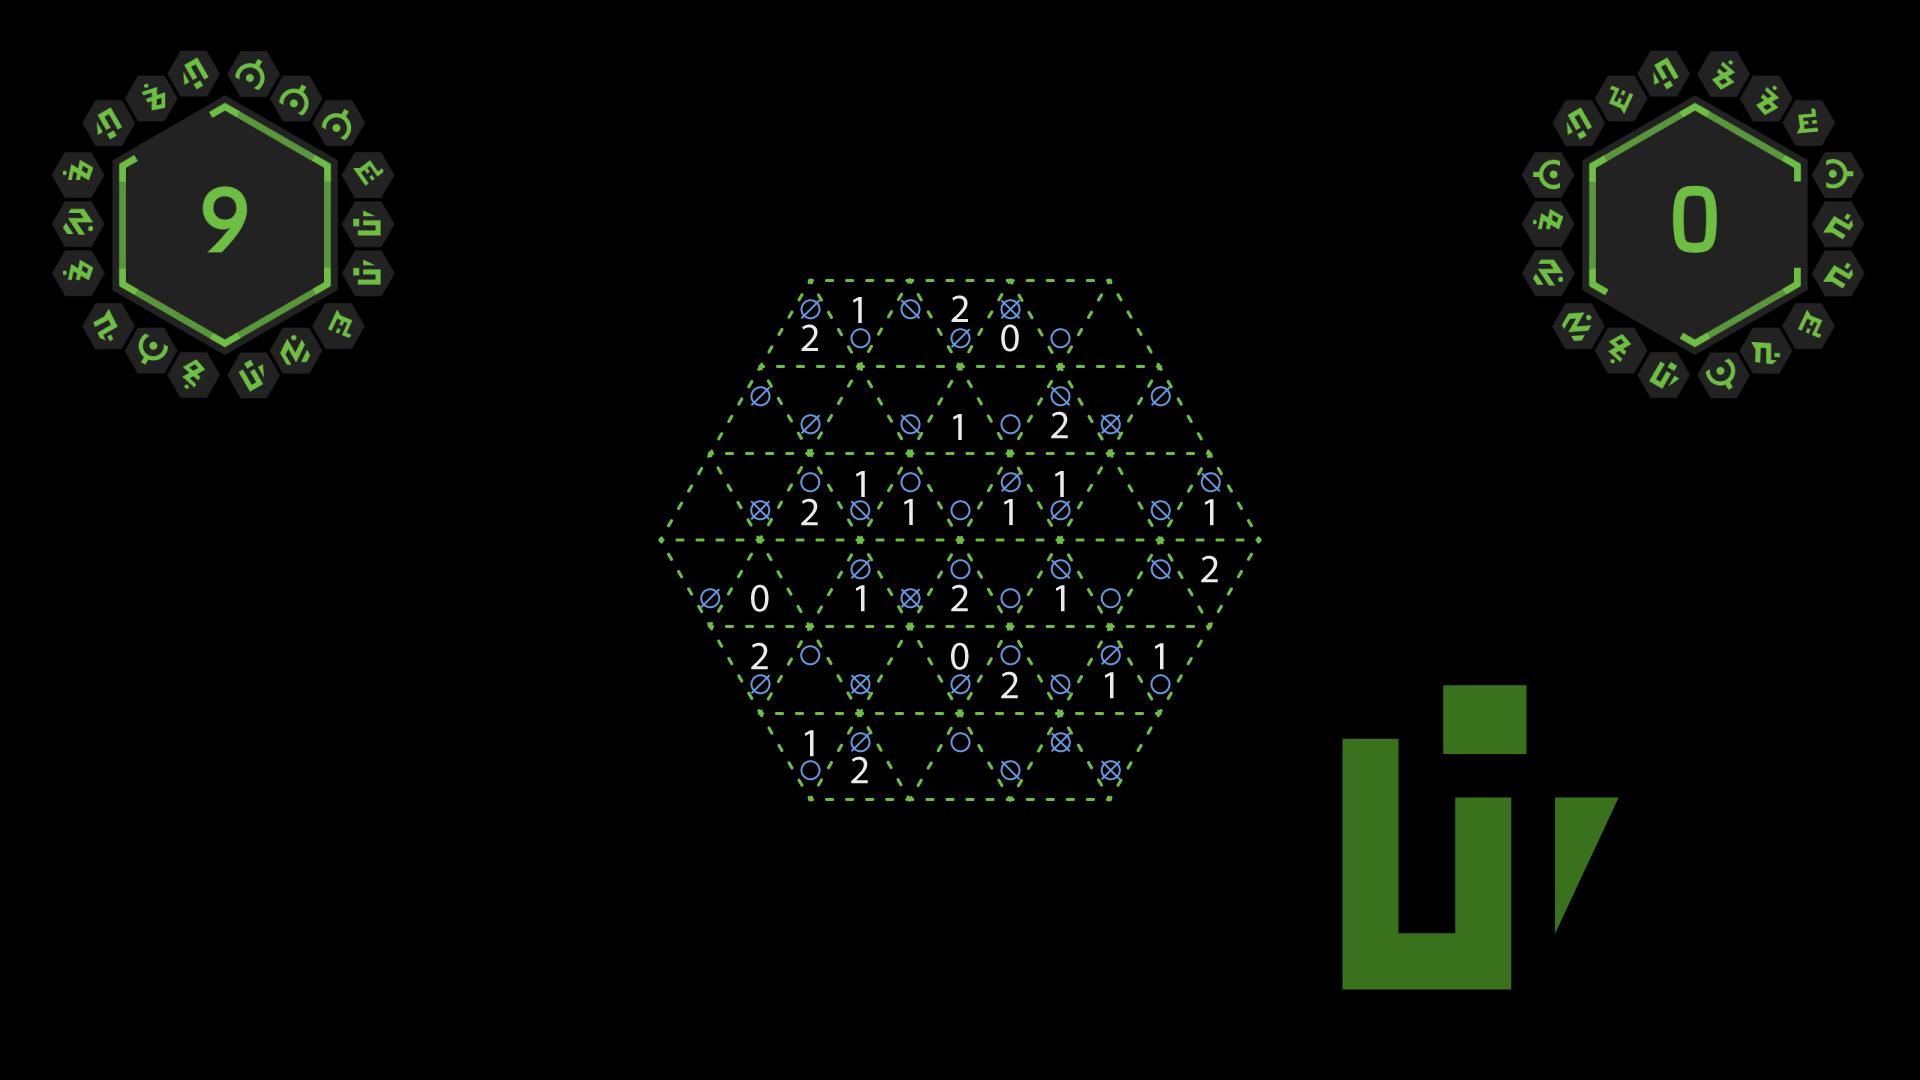
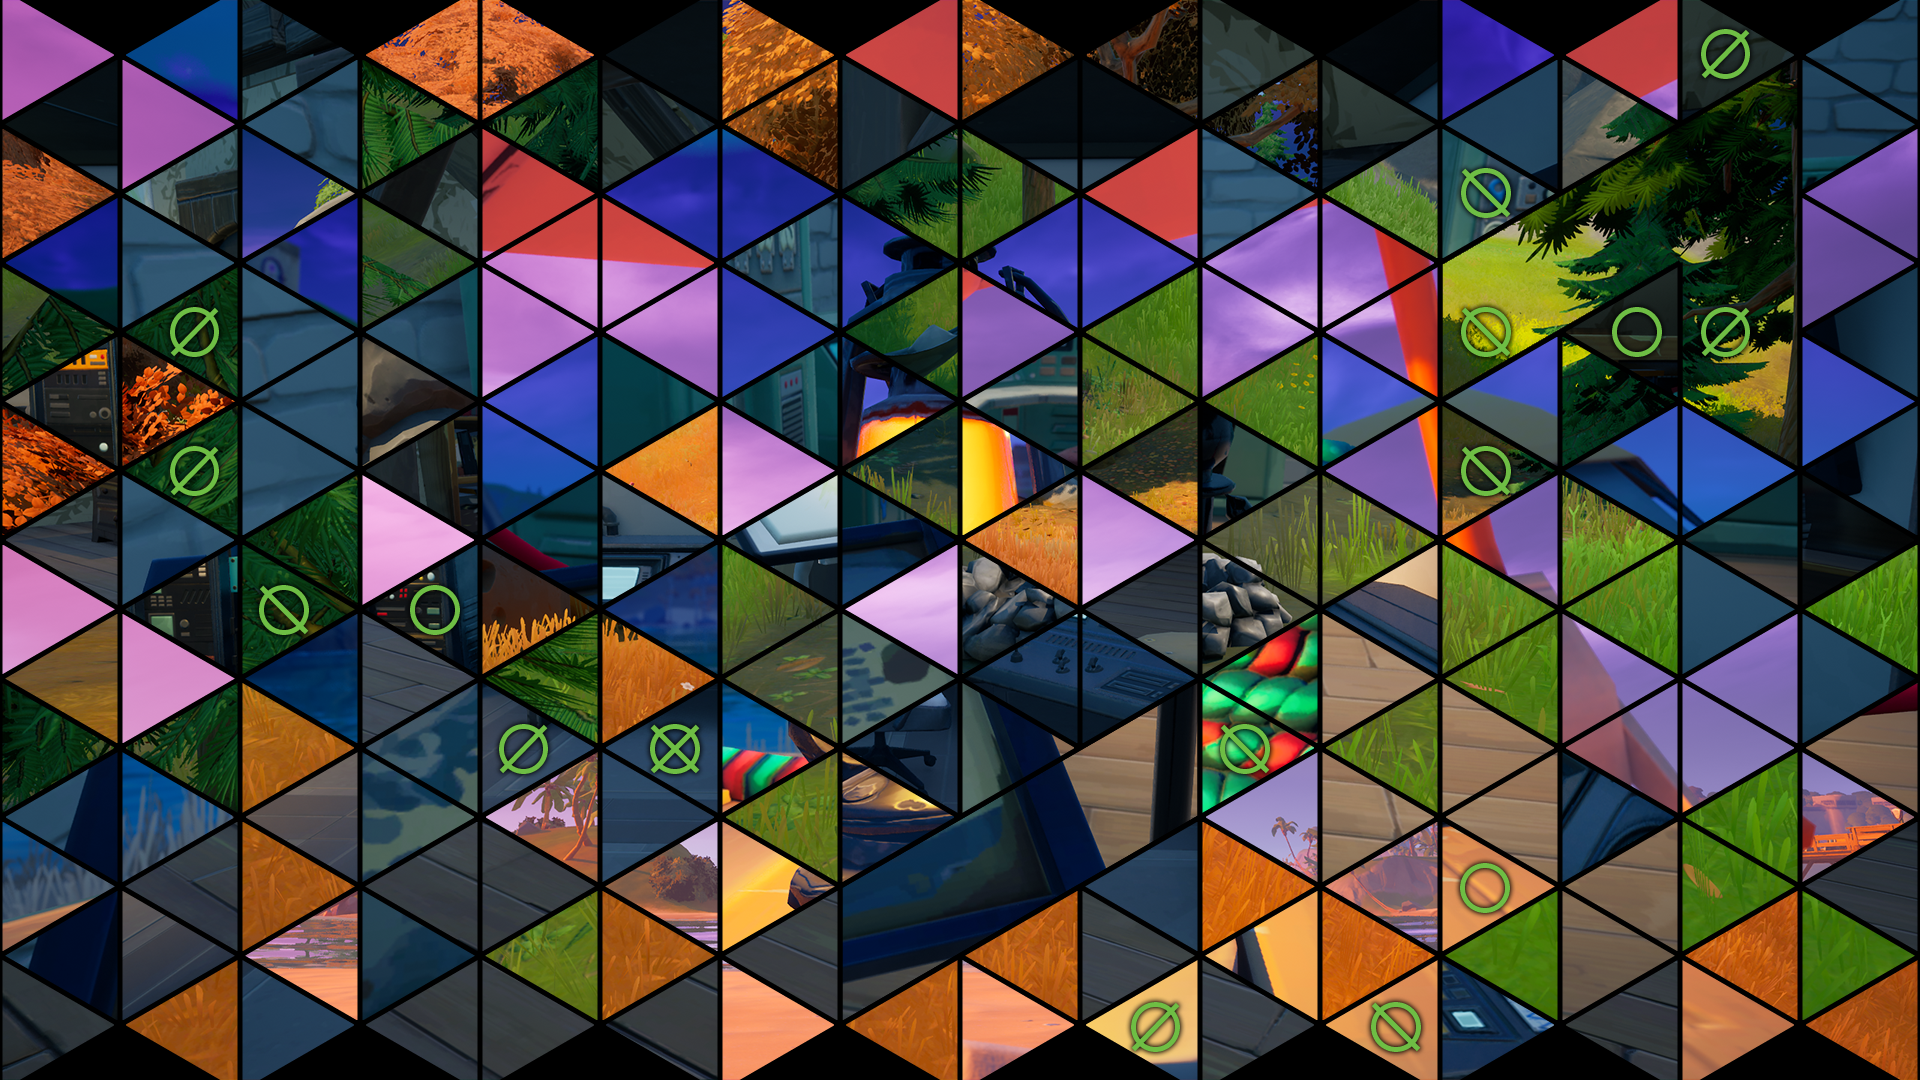
This new puzzle included a second hexagon loop to be solved as well as the first of what we would learn were seven different locations within the game that were pieced into triangles and jumbled together. So some of us continued working on the hexagon loop while others worked to locate from where in the game the images were taken, so they could be correctly assembled, which would reveal more symbols for us to decode.
To Be Continued
I ran out of time trying to put together the full details of this blog, but I will come back and update it later today after we finish decoding today’s puzzles!